Critical Safety Information for North Texas Homeowners
Last Updated: January 2026
Reading Time: 8 minutes
With temperatures dropping below freezing this weekend, North Texas is bracing for a wave of frozen and burst pipes. If you’re reading this in a panic because your pipes have frozen, or you’re trying to prevent disaster, this guide will walk you through exactly what to do, what NOT to do, and how to protect your home.
** CRITICAL WARNING:** Do NOT use open flames, torches, or unattended space heaters on frozen pipes. These methods cause house fires, burst pipes, and toxic gas exposure. Read the safety section below before attempting any thawing.
Table of Contents
- Signs Your Pipes Are Frozen
- What NOT to Do (Read This First!)
- Safe Step-by-Step: What to Do When Pipes Freeze
- If Your Pipe Bursts: Emergency Response
- Prevention for Next Time
- When to Call a Professional
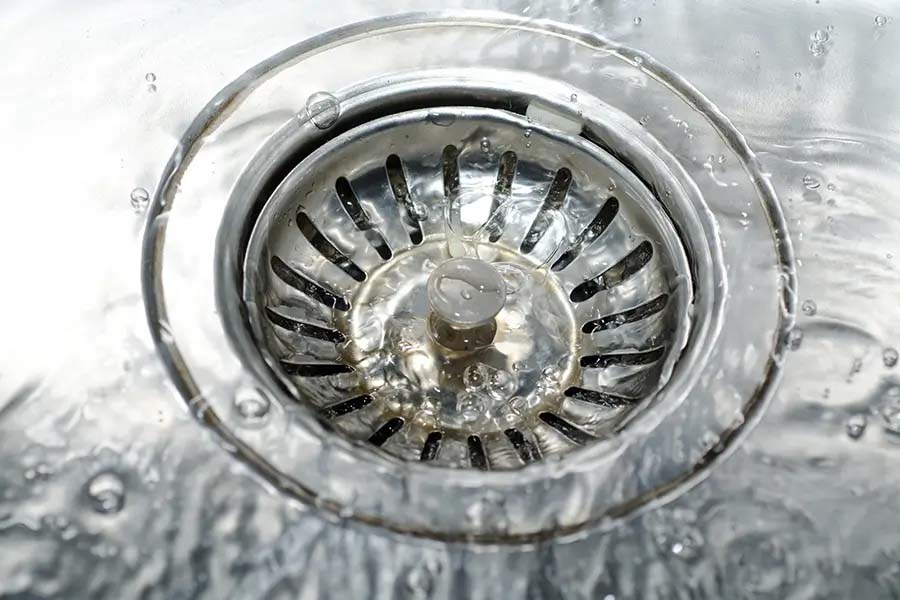
Signs Your Pipes Are Frozen
In most situations, it’s easy to tell if your pipes are frozen. Look for these warning signs:
No water flow when you turn on faucets
Reduced water pressure (trickle instead of normal flow)
Frost visible on exposed pipes (in garage, crawlspace, attic)
Strange sounds from pipes (gurgling, clanking)
Bad odors coming from drains (blockage preventing proper venting)
Bulging or cracked pipe sections (visible ice expansion)
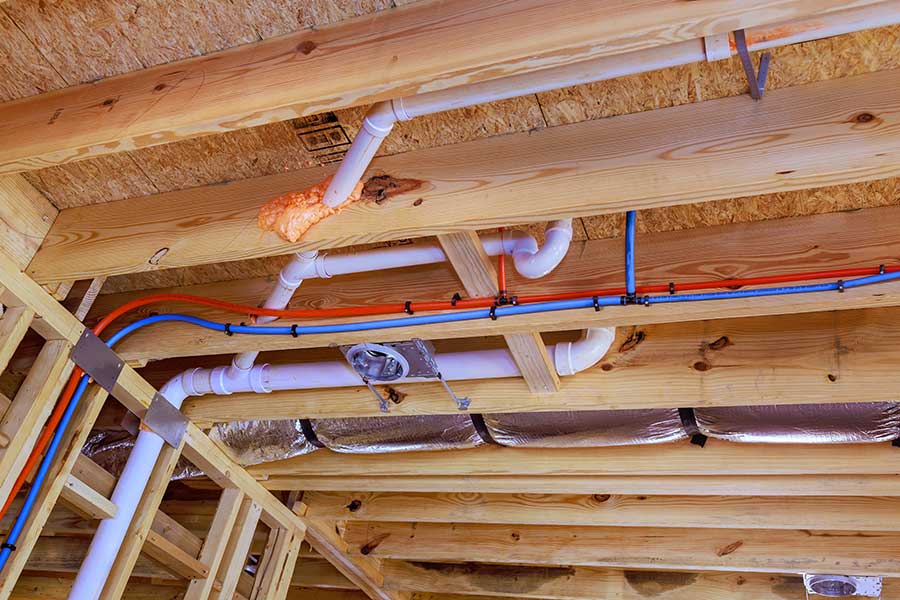
Temperature threshold: Water typically begins freezing at 32°F, but pipes in motion may not freeze until several degrees below freezing. However, exposed pipes in unheated areas like attics, garages, and crawlspaces are at highest risk.
Most vulnerable pipes:
- Outdoor faucets and hose bibs
- Pipes in exterior walls
- Pipes in unheated garages, attics, and crawlspaces
- Swimming pool and sprinkler lines
- Water supply lines in cabinets on exterior walls
If you notice ANY of these signs, act immediately. Every minute counts. The longer pipes remain frozen, the higher the risk of bursting.
What NOT to Do: Critical Safety Information
Before you try anything, understand these deadly risks. Homeowners are often tempted to “heat the pipe quickly,” but this creates extreme danger.
NEVER Use These Methods:
Open Flames (Torches, Lighters, Candles)
Fire Risk: Open flames easily ignite:
- Wood framing around pipes
- Insulation materials
- Dust and debris buildup
- Materials you can’t see in walls
Many frozen pipes are in tight, hidden spaces, walls, crawlspaces, cabinets, where fires start unnoticed and spread rapidly.
House fires from thawing pipes are more common than people realize, especially during freeze emergencies when many homeowners attempt DIY repairs simultaneously.
Space Heaters (Unattended or Pointed Directly at Pipes)
Electrical Hazards:
- Can overheat wiring
- Trip circuit breakers
- Cause electrical fires in enclosed spaces
- Malfunction when surrounded by flammable materials
Carbon Monoxide Risk:
- Fuel-burning heaters produce carbon monoxide in enclosed spaces
- Carbon monoxide is odorless, colorless, and deadly
- Symptoms include dizziness, headache, nausea, by the time you notice, it may be too late
Heating Pipes Too Fast (Any Method)
Why rapid heating causes pipes to burst:
- Ice expands inside the pipe and blocks water flow
- When you heat one section, pressure builds up behind the ice plug
- Rapid heating causes sudden pressure spikes
- The pipe ruptures, often explosively
- The damage occurs AFTER thawing, not while frozen
You might “successfully” thaw the pipe, only to have it burst minutes or hours later, flooding your home when you’re not watching.
Plastic Pipe Dangers
Many North Texas homes have PEX, PVC, or CPVC plumbing. These materials:
- Melt when exposed to high heat
- Warp permanently, even if they don’t burst immediately
- Fail weeks later from hidden heat damage you can’t see
Even if the pipe doesn’t burst during thawing, damage may cause slow leaks that go unnoticed until you discover mold, water damage, or skyrocketing water bills.
Heating the Wrong Spot
Here’s the problem: You often can’t see where the ice actually is.
The frozen section is frequently:
- Inside a wall (not where the pipe is visible)
- In the attic above the ceiling
- Under the foundation
Heating the wrong spot:
- Does nothing to thaw the actual blockage
- Damages surrounding materials unnecessarily
- Creates fire risk without solving the problem
- Wastes precious time while pressure builds
Safe Step-by-Step: What to Do When Pipes Freeze
Follow this exact sequence. Don’t skip steps.
Step 1: Turn Off Water to the Affected Line
If you know which pipe is frozen:
- Close the shut-off valve for that specific fixture (under sink, behind toilet, near water heater)
- This prevents water from rushing through once the pipe thaws
If you don’t know which pipe:
- Locate your main water shut-off valve (usually where the main line enters your home, near the water meter, or in a utility closet)
- Turn it off completely
- Write down its location if you don’t already know it, you’ll need this for future emergencies
Why this is critical: When a frozen pipe thaws, water will start flowing again. If the pipe cracked during freezing (even a hairline crack), water will gush out. Turning off water FIRST prevents catastrophic flooding.
Step 2: Open the Faucet
Turn on both hot and cold taps at the frozen fixture.
Why:
- Relieves pressure in the system as ice melts
- Allows water to flow out as thawing progresses
- Gives you a visual indicator of when flow is restored
- Reduces the risk of pressure-related bursting
Leave the faucet open throughout the entire thawing process.
Step 3: Open Cabinet Doors
If frozen pipes are under sinks or in vanities, open cabinet doors to allow warm room air to reach the pipes.
Bonus step: If temperatures are expected to drop further, leave cabinet doors open and let faucets drip slightly (even before freezing occurs) to keep water moving.
Step 4: Apply Safe, Gentle, GRADUAL Heat
Use ONLY these methods:
Hair Dryer (Safest Option)
- Start at the faucet end and work toward the frozen section
- Keep the dryer moving constantly, never hold it in one spot
- Maintain at least 6-12 inches distance from the pipe
- Use low or medium heat setting (high heat can still damage plastic pipes)
- Never leave unattended
Warm Towels or Rags
- Soak towels in hot (not boiling) water
- Wrap around accessible frozen sections
- Re-soak and replace as they cool
- This is the safest method for plastic (PEX, PVC, CPVC) pipes
Increase Room Temperature
- Turn up your thermostat
- Use space heaters to warm the ROOM (not pointed directly at pipes)
- Open doors to allow warm air circulation
- Leave interior doors open to equalize temperature
Heat Lamp (with Extreme Caution)
- Position 12+ inches from pipe
- Never leave unattended
- Clear all flammable materials from the area
- Use only in well-ventilated spaces
The goal is SLOW, controlled warming. Fast warming = burst pipes.
Step 5: Check for Leaks While Thawing
As the pipe thaws:
- Watch closely for any dripping, spraying, or moisture
- Feel the pipe for wet spots
- Look for water pooling or staining on walls/ceilings
- Have towels and buckets ready
If you see any leaks:
- Turn off water immediately (main shut-off if necessary)
- Call emergency plumber: 972-291-0740
- Do not turn water back on until professionally inspected
Step 6: Check All Faucets
Once one frozen pipe thaws, check every faucet in your home:
- Kitchen and bathroom sinks
- Tub and shower
- Washing machine
- Outdoor faucets
- Utility sinks
Why: If one pipe froze, others may be frozen too. It’s better to discover multiple frozen pipes while you’re already managing the situation than to discover them one by one over several days.
Step 7: Monitor for 24-48 Hours
Even after pipes thaw successfully:
- Watch for new leaks (small cracks may not show up immediately)
- Listen for unusual sounds (dripping, rushing water behind walls)
- Check under sinks and in cabinets periodically
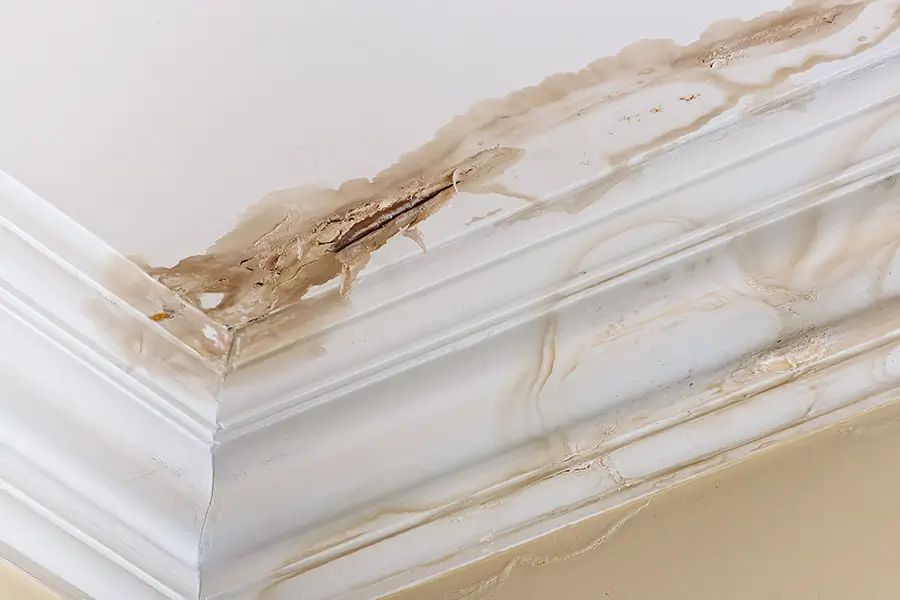
- Inspect your ceiling for water stains or bulging
- Monitor your water bill for unexpected increases
Hairline cracks caused by freezing may not leak immediately. Pressure from normal use can cause them to fail hours or days later.
If Your Pipe Bursts: Emergency Response
If water is actively gushing from a burst pipe, follow this sequence immediately:
Immediate Actions (First 5 Minutes)
- Shut Off Main Water Supply
Location is usually:
- Near water meter (sometimes in concrete box in front yard)
- Where main line enters house (basement, garage, utility room)
- Exterior wall in a recessed box
Turn valve clockwise until it stops. If you can’t find it or can’t turn it, call 972-291-0740 immediately, we can talk you through it.
- Turn Off Water Heater
Gas water heaters: Turn gas control valve to PILOT or OFF
Electric water heaters: Flip circuit breaker labeled “Water Heater” to OFF
Why: Prevents scalding hot water from continuing to flow through burst pipes and potentially causing severe burns.
- Shut Off Electricity (If Safe)
If water is near outlets, appliances, or your electrical panel: Turn off main power at the breaker panel.
If you must walk through water to reach the panel: DO NOT attempt it. Call 911 or your electric company from outside your home.
Water conducts electricity, electrocution risk is real and deadly.
- Flush System
- Flush all toilets
- Open all cold-water faucets
- Open all hot-water faucets
- Let water drain from all fixtures
Why: Removes remaining water from pipes so it doesn’t continue flowing from the burst section.
- Document Everything
- Take photos and videos of the damage
- Note the date, time, and location
- Document water flow (if safe)
- Save for insurance claims
Insurance companies require detailed documentation. Do this BEFORE you start cleanup if possible.
Next Actions (First Hour)
- Contain the Water
- Place buckets, pans, or towels to catch dripping water
- Move furniture, electronics, and valuables away from water
- If water is coming through ceiling, poke a small hole in the bulging area to allow controlled draining (prevents ceiling collapse)
- Use wet/dry vacuum if available
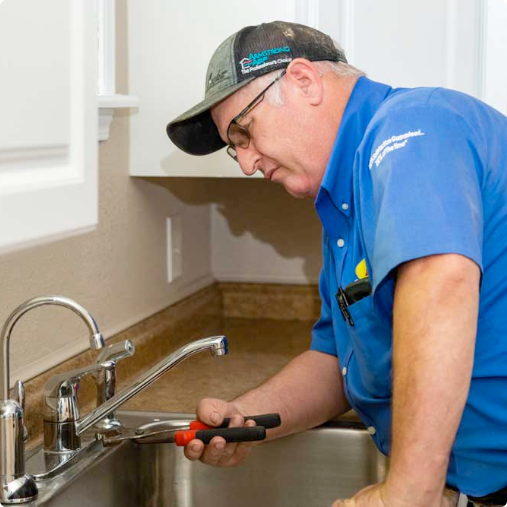
- Call Professional Plumber
Dial One Johnson 24/7 Emergency: 972-291-0740
Tell the dispatcher:
- “I have a burst pipe emergency”
- Location of burst (if known)
- How long water has been flowing
- Approximate amount of water damage
- Whether you’ve shut off main water
We will:
- Dispatch a licensed plumber immediately (usually within 1-2 hours for emergencies)
- Provide guidance over the phone while you wait
- Bring specialized equipment to locate and repair burst pipe
- Assess entire system for additional freeze damage
- Call Insurance Company
Contact your homeowner’s insurance immediately. Most policies cover sudden pipe bursts (though not always freeze damage from lack of maintenance, check your policy).
Have ready:
- Policy number
- Photos of damage
- Estimate of damage scope
- Plumber’s contact information
- Begin Water Removal
- Mop up standing water
- Use fans to increase air circulation
- Run dehumidifiers if available
- Remove wet carpet padding (mold grows in 24-48 hours)
For significant flooding: Call a water damage restoration company in addition to the plumber. They specialize in preventing mold and structural damage.
Signs of Burst Pipe (Even If Not Obvious)
Sometimes burst pipes aren’t immediately visible. Watch for:
Large water stains on walls or ceilings (indicates location)
Water pooling rapidly when faucet is on (major leak)
Sudden dramatic drop in water pressure
Discolored water (brown, red, or rusty, indicates pipe corrosion)
Metallic smell in water
Spike in water bill (hidden leak out of sight)
Sound of running water in walls or ceiling when all fixtures are off
Banging or clanking pipe sounds (pipes moving, can cause bursts)
If you notice any combination of these signs, call immediately: 972-291-0740
Prevention: Protect Your Pipes for Next Time
The best way to handle frozen pipes is to prevent them in the first place. Here’s what to do before the next freeze:
Before Cold Weather Hits
1. Insulate Vulnerable Pipes
Priority locations:
- Exposed pipes in garage, attic, basement, crawlspaces
- Pipes in exterior walls
- Outdoor faucets and hose bibs
Best insulation options:
- Foam pipe sleeves: Easiest to install, widely available at hardware stores ($1-3 per 6-foot section)
- Pipe wrap tape: Works for irregular pipe configurations
- Heat tape/cable: For extremely cold-prone areas (requires electrical connection)
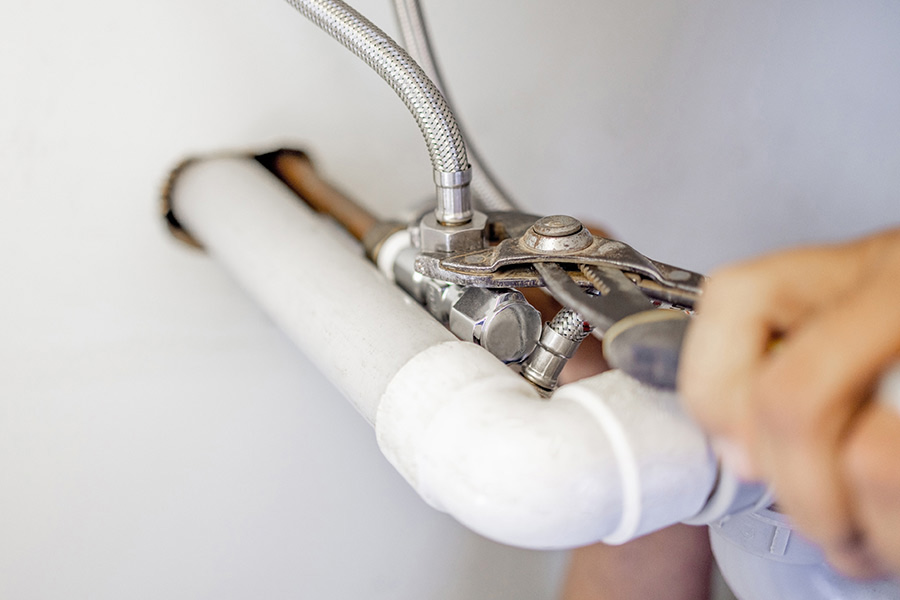
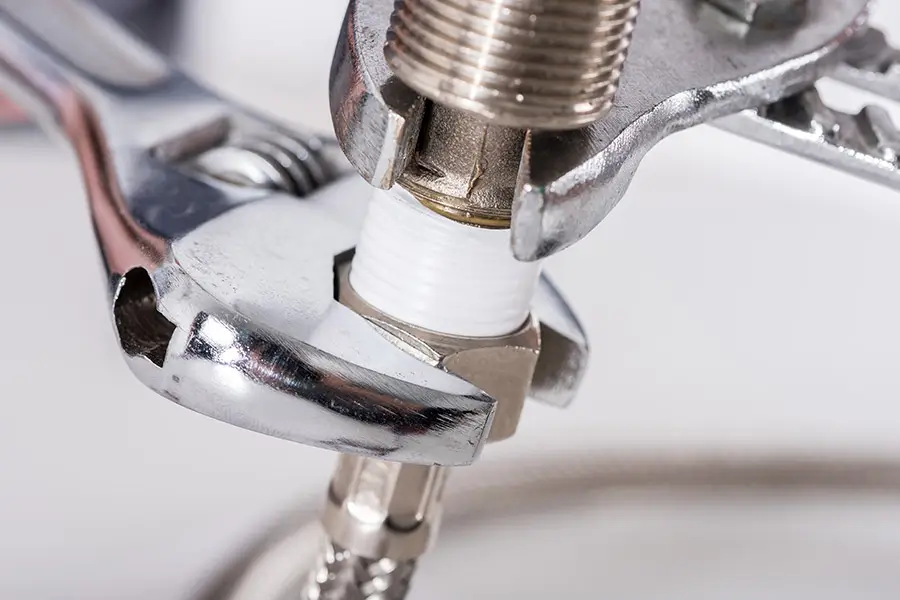
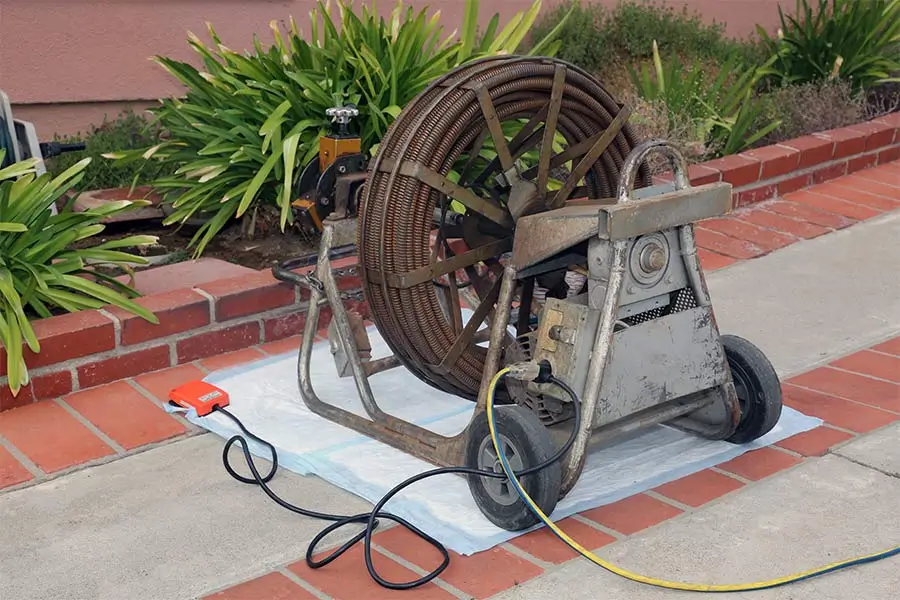
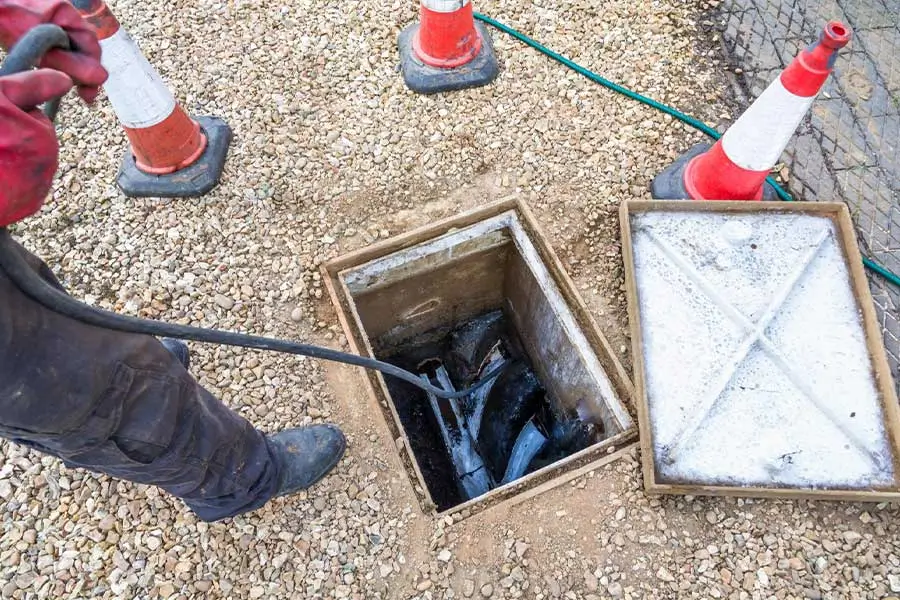
DIY vs. Professional: Most homeowners can install foam sleeves on accessible pipes. Call 972-291-0740 for help with hard-to-reach pipes or heat cable installation.
2. Seal Air Leaks
Cold air infiltration causes pipes to freeze faster. Seal:
- Gaps around pipes where they enter through walls
- Cracks in basement or crawlspace walls
- Openings around windows and doors near plumbing
- Gaps in attic insulation
Use caulk, spray foam, or weatherstripping depending on the gap size.
3. Disconnect Outdoor Hoses
- Remove all garden hoses from outdoor faucets
- Drain hoses completely and store indoors
- Close interior shut-off valves for outdoor faucets (if you have them)
- Install insulated faucet covers ($3-5 at hardware stores)
Why: Water trapped in hose or faucet can freeze, expand, and crack the faucet or even the pipe inside your wall.
4. Know Your Shut-Off Locations
Before an emergency:
- Locate main water shut-off valve
- Test it, make sure it turns and actually stops water flow
- Label it clearly
- Show all adults in household where it is
- Take a photo of its location and save on your phone
If you can’t find your main shut-off or it doesn’t work, call us: 9972-291-0740. We’ll locate it, test it, and replace it if necessary ($150-300 investment that prevents $10,000+ in flood damage).
During Freezing Weather
5. Let Faucets Drip
When temperatures drop below 28°F:
- Open faucets to a pencil-lead-thin stream (slow drip)
- Focus on faucets on exterior walls
- Run both hot and cold (or cold only if trying to save energy)
Why: Moving water is harder to freeze. The constant flow prevents ice formation.
Cost concern: Yes, you’ll use more water (maybe $5-10 more on your bill). But that’s vastly cheaper than repairing a burst pipe ($500-5,000+).
6. Open Cabinet Doors
Under sinks on exterior walls, open cabinet doors to allow warm room air to reach pipes.
7. Maintain Consistent Indoor Temperature
Don’t drastically lower the thermostat at night or when you’re away. Keep it at least 55°F throughout the home, even in unused rooms.
Cost vs. Benefit: Higher heating bill during freeze = $50-100. Burst pipe repair = $500-5,000+. Easy math.
8. Check Vulnerable Areas
Periodically check:
- Garage (keep door closed)
- Attic (make sure insulation is intact)
- Crawlspace (close vents during extreme cold)
Benefits of Pipe Insulation Beyond Freeze Protection
You should consider insulating pipes even when it’s not freeze season:
Reduces condensation on cold-water lines (prevents mold/mildew growth)
Keeps hot water hotter longer (reduces water heater energy costs 8-10%)
Faster hot water delivery (less water wasted waiting for hot water)
Quieter pipes (insulation dampens water hammer sounds)
Extends pipe lifespan (protects from temperature extremes year-round)
In Texas, where we experience both sweltering heat and occasional hard freezes, insulation provides year-round benefits. The investment pays for itself in 1-2 years through energy savings alone.
When to Call Dial One Johnson
Call Immediately (Emergency: 972-291-0740) If:
Water is actively gushing from a burst pipe
You can’t locate or turn off your main water shut-off
You see major water damage (ceiling bulging, walls soaked)
Water is near electrical outlets or appliances
You smell gas (evacuate first, call 911, then us)
Pipe burst in main water line (extensive damage potential)
We’re available 24/7 for true emergencies. No overtime charges for Advantage Plan members.
Call Soon (Regular Hours: 972-291-0740) If:
- Pipes are frozen but you can’t safely thaw them yourself
- You’re not sure where the frozen section is located
- Pipes are in walls, ceilings, or other inaccessible locations
- You have plastic pipes and don’t want to risk heat damage
- Multiple pipes appear to be frozen
- You suspect a leak but can’t locate it
- You want professional insulation installation before next freeze
- Your shut-off valves don’t work or are hard to access
Licensed, insured, and experienced. We’ve handled thousands of freeze emergencies across North Texas, including during the 2021 winter storm that devastated the area.
Why Frozen Pipes Are So Dangerous
Understanding the science helps you take this seriously:
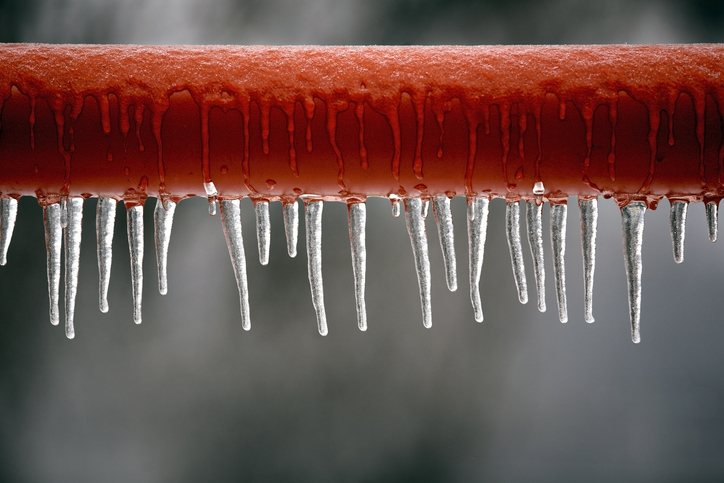
Ice Expansion: When water freezes, it expands about 9% in volume. This creates enormous pressure (up to 40,000 PSI) inside the pipe, enough to crack cast iron, split copper, and burst plastic.
Pressure Points: Ice doesn’t just form in one spot. As water freezes, it creates an ice plug. Water trapped between the ice plug and a closed faucet has nowhere to go as it freezes and expands, this is what causes pipes to burst.
Hidden Damage: Even if a pipe doesn’t burst during freezing, the expansion can create microscopic cracks. These might not leak immediately but will fail under normal water pressure once thawed.
Secondary Damage: Water damage from burst pipes causes:
- Structural damage (weakened walls, floors, ceilings)
- Mold growth (starts in 24-48 hours)
- Electrical hazards (water + electricity = danger)
- Property loss (furniture, electronics, personal items)
- Displacement (home may be uninhabitable during repairs)
Average cost of pipe burst damage in North Texas: $5,000-10,000. Some homeowners face $20,000-50,000+ in repairs after major freezes, especially when multiple pipes burst or main lines fail.
Frequently Asked Questions
Q: How long does it take for pipes to freeze?
A: It depends on several factors (temperature, wind, pipe location, insulation), but exposed pipes can begin freezing within 3-6 hours of temperatures dropping below 20°F. Pipes in unheated areas may freeze even faster.
Q: Will running water prevent all freezing?
A: Running water helps significantly but isn’t foolproof. In extreme cold (below 10°F with wind chill), even running water can freeze if pipes are poorly insulated.
Q: Can I just wait for warmer weather to thaw pipes naturally?
A: Yes, you can also try gradually heating the exposed pipe with a hair dryer.
Q: How do I know if my pipes burst while frozen?
A: You might not know until they thaw. That’s why it’s critical to: (1) thaw pipes gradually, (2) monitor closely during thawing, and (3) inspect afterward. Many bursts aren’t discovered until water starts flowing again.
Q: Does homeowner’s insurance cover frozen pipe damage?
A: Most policies cover sudden burst pipes, but coverage can be denied if insurers determine you didn’t take reasonable precautions (like maintaining heat or draining pipes before extended absence). Check your specific policy and document any preventive steps you took.
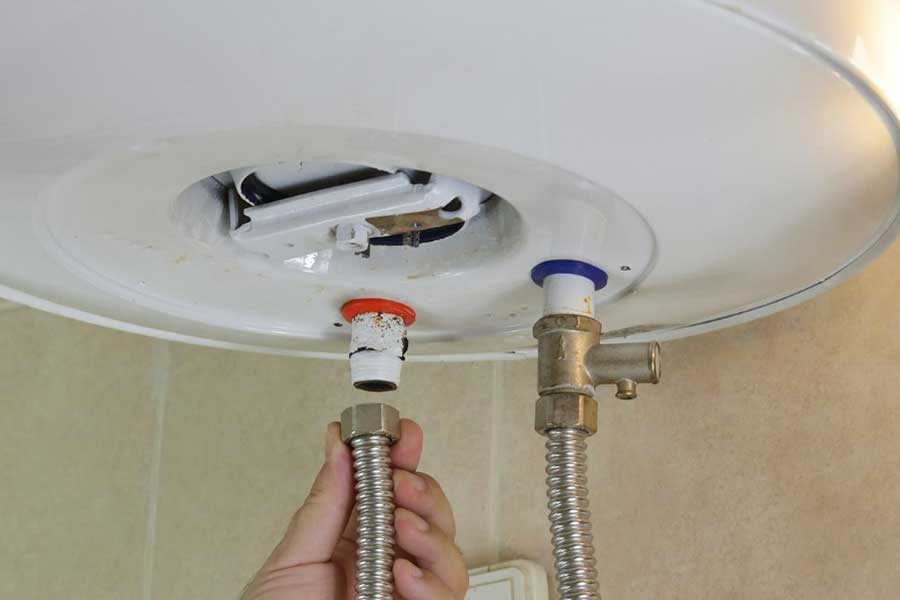
Q: Should I turn off my water heater during a freeze?
A: Only turn it off if: (1) you’ve lost power and can’t heat your home, (2) you have a burst pipe and need to shut off all water, or (3) you’re evacuating. Otherwise, leave it on, running hot water through taps can help prevent freezing.
Q: My pipes froze last year. Will they freeze again in the same spot?
A: Very likely, yes. That spot is vulnerable, make it a priority for insulation, heat tape, or other preventive measures.
Emergency Checklist: Print and Post
BEFORE the Freeze:
Insulate exposed pipes
Locate and test main water shut-off
Disconnect outdoor hoses
Seal air leaks around pipes
Stock supplies (buckets, towels, hair dryer)
Save Dial One Johnson emergency number: 972-291-0740
DURING the Freeze:
Let vulnerable faucets drip
Open cabinet doors
Keep thermostat at 55°F minimum
Check pipes in vulnerable areas
IF Pipes Freeze:
Turn off water to affected line (or main shut-off)
Open faucets to relieve pressure
Apply SAFE heat only (hair dryer, warm towels, room heat)
Watch for leaks while thawing
Call professional if needed: 972-291-0740
IF Pipes Burst:
Shut off main water immediately
Turn off water heater
Shut off electricity if water near outlets
Drain system (flush toilets, open faucets)
Document damage (photos)
Call emergency plumber: 972-291-0740
Call insurance company
Begin water removal
The Bottom Line: Safety First, Always
We understand the panic that sets in when you discover frozen pipes, especially during extreme cold when everyone is facing the same emergency. The temptation to “fix it fast” with whatever heat source is available is strong.
Resist that temptation.
Using open flames, propane torches, or high-heat methods can:
- Burn down your house
- Cause pipes to burst explosively
- Create toxic carbon monoxide
- Melt plastic pipes permanently
- Damage you can’t see until it’s too late
The safe approach takes longer, but it works:
- Gradual warming prevents bursts
- Low heat protects pipe materials
- Constant monitoring catches problems early
- Professional help is available 24/7
Your safety and your home’s safety are worth the extra time.
If you’re reading this during a freeze emergency and feeling overwhelmed, call us at 972-291-0740. We’ll talk you through it, help you assess the situation, and dispatch a technician if needed.
We’ve been serving North Texas since 1965. We’ve seen every freeze scenario possible. We know how to help.
Contact Dial One Johnson
Call the emergency number for your city or your local fire department if you have a leak and need the water turned off immediately and don’t know how to turn your water off yourself.
Regular Service & Prevention:
972-291-0740
Monday-Friday 7:00 AM – 6:00 PM
Saturday 8:00 AM – 4:00 PM
Online:
www.dial1plumbing.com
info@dial1plumbing.com
Service Area:
Dallas County: Cedar Hill • Dallas • DeSoto • Duncanville • Grand Prairie • Irving • Lancaster • Mesquite
Ellis County: Midlothian • Waxahachie • Red Oak • Glenn Heights • Ovilla • Ferris • Palmer • Ennis
Surrounding Areas: Mansfield • Arlington • Balch Springs
Licensed, Bonded & Insured
Texas Plumbing License #41416 | TACLA 0076152E
About the Author
Dial One Johnson Plumbing, Cooling & Heating has served North Texas since 1965. Three generations of the Johnson family, from Lemuel C. Johnson to Sherrie Johnson-Hartsock to current GM Daniel Johnson, have built a reputation on honest service, quality work, and taking care of neighbors.
During the devastating February 2021 winter storm, our team worked around the clock for weeks helping North Texas families recover from freeze damage. We understand the devastation frozen pipes can cause, and we’re committed to helping homeowners protect their homes and respond effectively when disaster strikes.
Stay safe this weekend. Don’t risk your home with dangerous thawing methods. Call us if you need help: 972-291-0740.
Related Resources:
- How to Turn Your Water Off (Video Tutorial)
- Water Heater Maintenance During Freezes
- Emergency Plumbing Services
- Advantage Plan Membership
Share this article with your neighbors, frozen pipes affect entire communities. The more prepared we all are, the less damage we’ll see.
Last updated: January 2026 for current North Texas freeze event. Information based on 60+ years of plumbing expertise and lessons learned from the 2021 winter storm.