
Understanding Proper Clearance Requirements
Why Clearance Matters
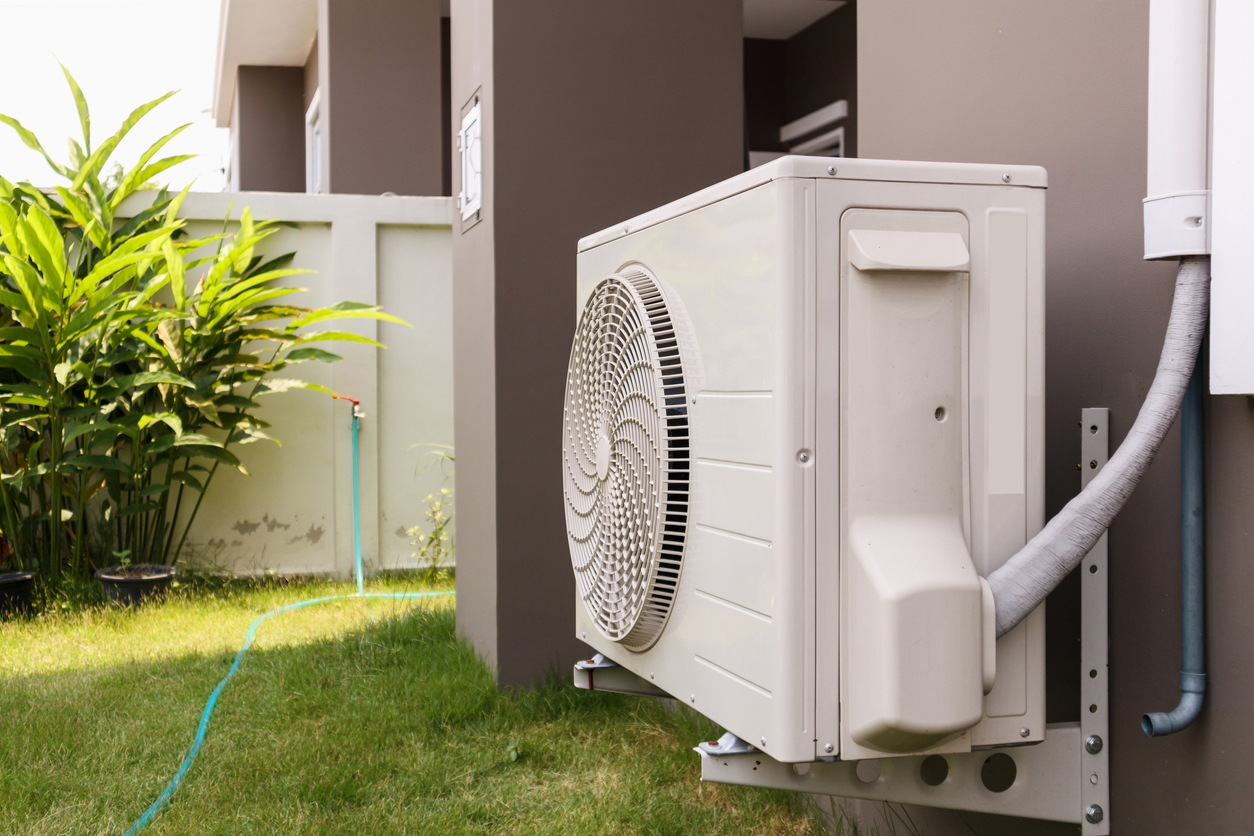
General Spacing Guidelines
As a general rule, you’ll want to ensure at least 12 inches (one foot) of clearance on all sides of your outdoor unit. However, spacing requirements can vary depending on your particular unit. Some systems require up to two feet of clearance for proper operation.
Before installation, it’s important to have an HVAC specialist conduct a site inspection. During this assessment, your technician will evaluate the environment and conditions where the outside unit will be placed, with special attention to clearance considerations. If your inspector doesn’t mention clearance, always ask—it’s better to address potential issues before installation than deal with problems down the road.
Common Obstructions to Watch For
To ensure your system has the space it needs to run efficiently, be aware of anything that might cause obstructed airflow:
Mechanical Obstructions
Kitchen exhaust vents and dryer outlet vents that come through the wall can present challenges to proper airflow when an outdoor unit is placed too close. Maintain adequate distance from these outlets to prevent interference.
Landscaping
While it might seem like a good idea to hide your outdoor unit behind bushes or shrubs, any landscaping placed too close to the condenser can cause obstructions. Broken twigs, leaves, and other debris can clog your system and reduce efficiency.
Best practice: Maintain at least two feet of cleared space around your entire unit. Cut back any vegetation that encroaches on this zone.
Construction Elements
Fences and walls fall into this category. If you’re installing your outdoor unit near such structures, add an extra foot to the clearance guidelines in your owner’s manual. If the unit is near a door or window, ensure the condenser exhaust doesn’t blow directly into your home.
Special Clearance Situations
Beyond the common obstructions, consider these additional spacing requirements:
- Heat Pumps: If your home has a heat pump, ensure plenty of clearance between it and your outdoor AC unit
- Multiple Units: When two units are close together, they compete for the same air. Most HVAC specialists recommend at least four feet of clearance between units
- Top Clearance: In most cases, this won’t be an issue, but in special circumstances (such as units under eaves or awnings), provide at least 60 inches of vertical clearance for proper airflow
Essential Maintenance for Your Outdoor Unit
While scheduling professional AC maintenance is the best thing you can do for your outdoor unit, there are several maintenance tasks you can handle yourself to keep your system running efficiently.
Benefits of Regular Outdoor AC Maintenance
Consistent care for your outdoor air conditioning unit provides multiple advantages:
- Increases efficiency: A clean outdoor AC unit doesn’t have to work as hard to produce the same cooling output
- Reduces repair risks: Regular maintenance keeps the unit functioning well, substantially reducing the likelihood of unexpected repairs
- Lowers energy bills: Improved efficiency means your system uses less energy to cool your home
- Extends lifespan: Proper maintenance can mean the difference between a unit lasting 20 years with few repairs versus 15 years with frequent problems
1. Clean the Condenser Coils
Your outdoor unit contains condenser coils that expel heat from your home. For these coils to function properly, they need maximum surface area exposed to air. When dust settles on the coils or debris blocks them, efficiency drops significantly.
Cleaning steps:
- Turn your thermostat to “off”
- Use a vacuum to remove large clumps of dust or debris from the coils
- Wipe the coils with a damp rag (or use condenser coil cleaner) to remove remaining dirt
This simple cleaning helps the coils efficiently expel heat and maintain system performance.
2. Clear the Surrounding Area
Just as condenser coils need air exposure, your entire unit requires adequate space to properly expel heat. This means maintaining at least two feet of clearance around the unit.
Remove any toys, tools, or other items near the unit, and trim back landscaping that may be encroaching on this zone. This ensures your unit can effectively transfer heat outside and keep your home comfortable.
3. Realign the Fins
The thin metal plates running along the outside of your unit are called fins. Over time, these fins can become bent, flattened, or misaligned, reducing the space available for air to escape the condenser.
Realignment process: Using a thin butter knife or fin alignment tool, carefully insert it between the fins—just enough to maneuver them—and work to straighten any bent sections. While this task can be time-consuming and meticulous, it’s an effective way to increase efficiency and reduce the need for air conditioning repairs.
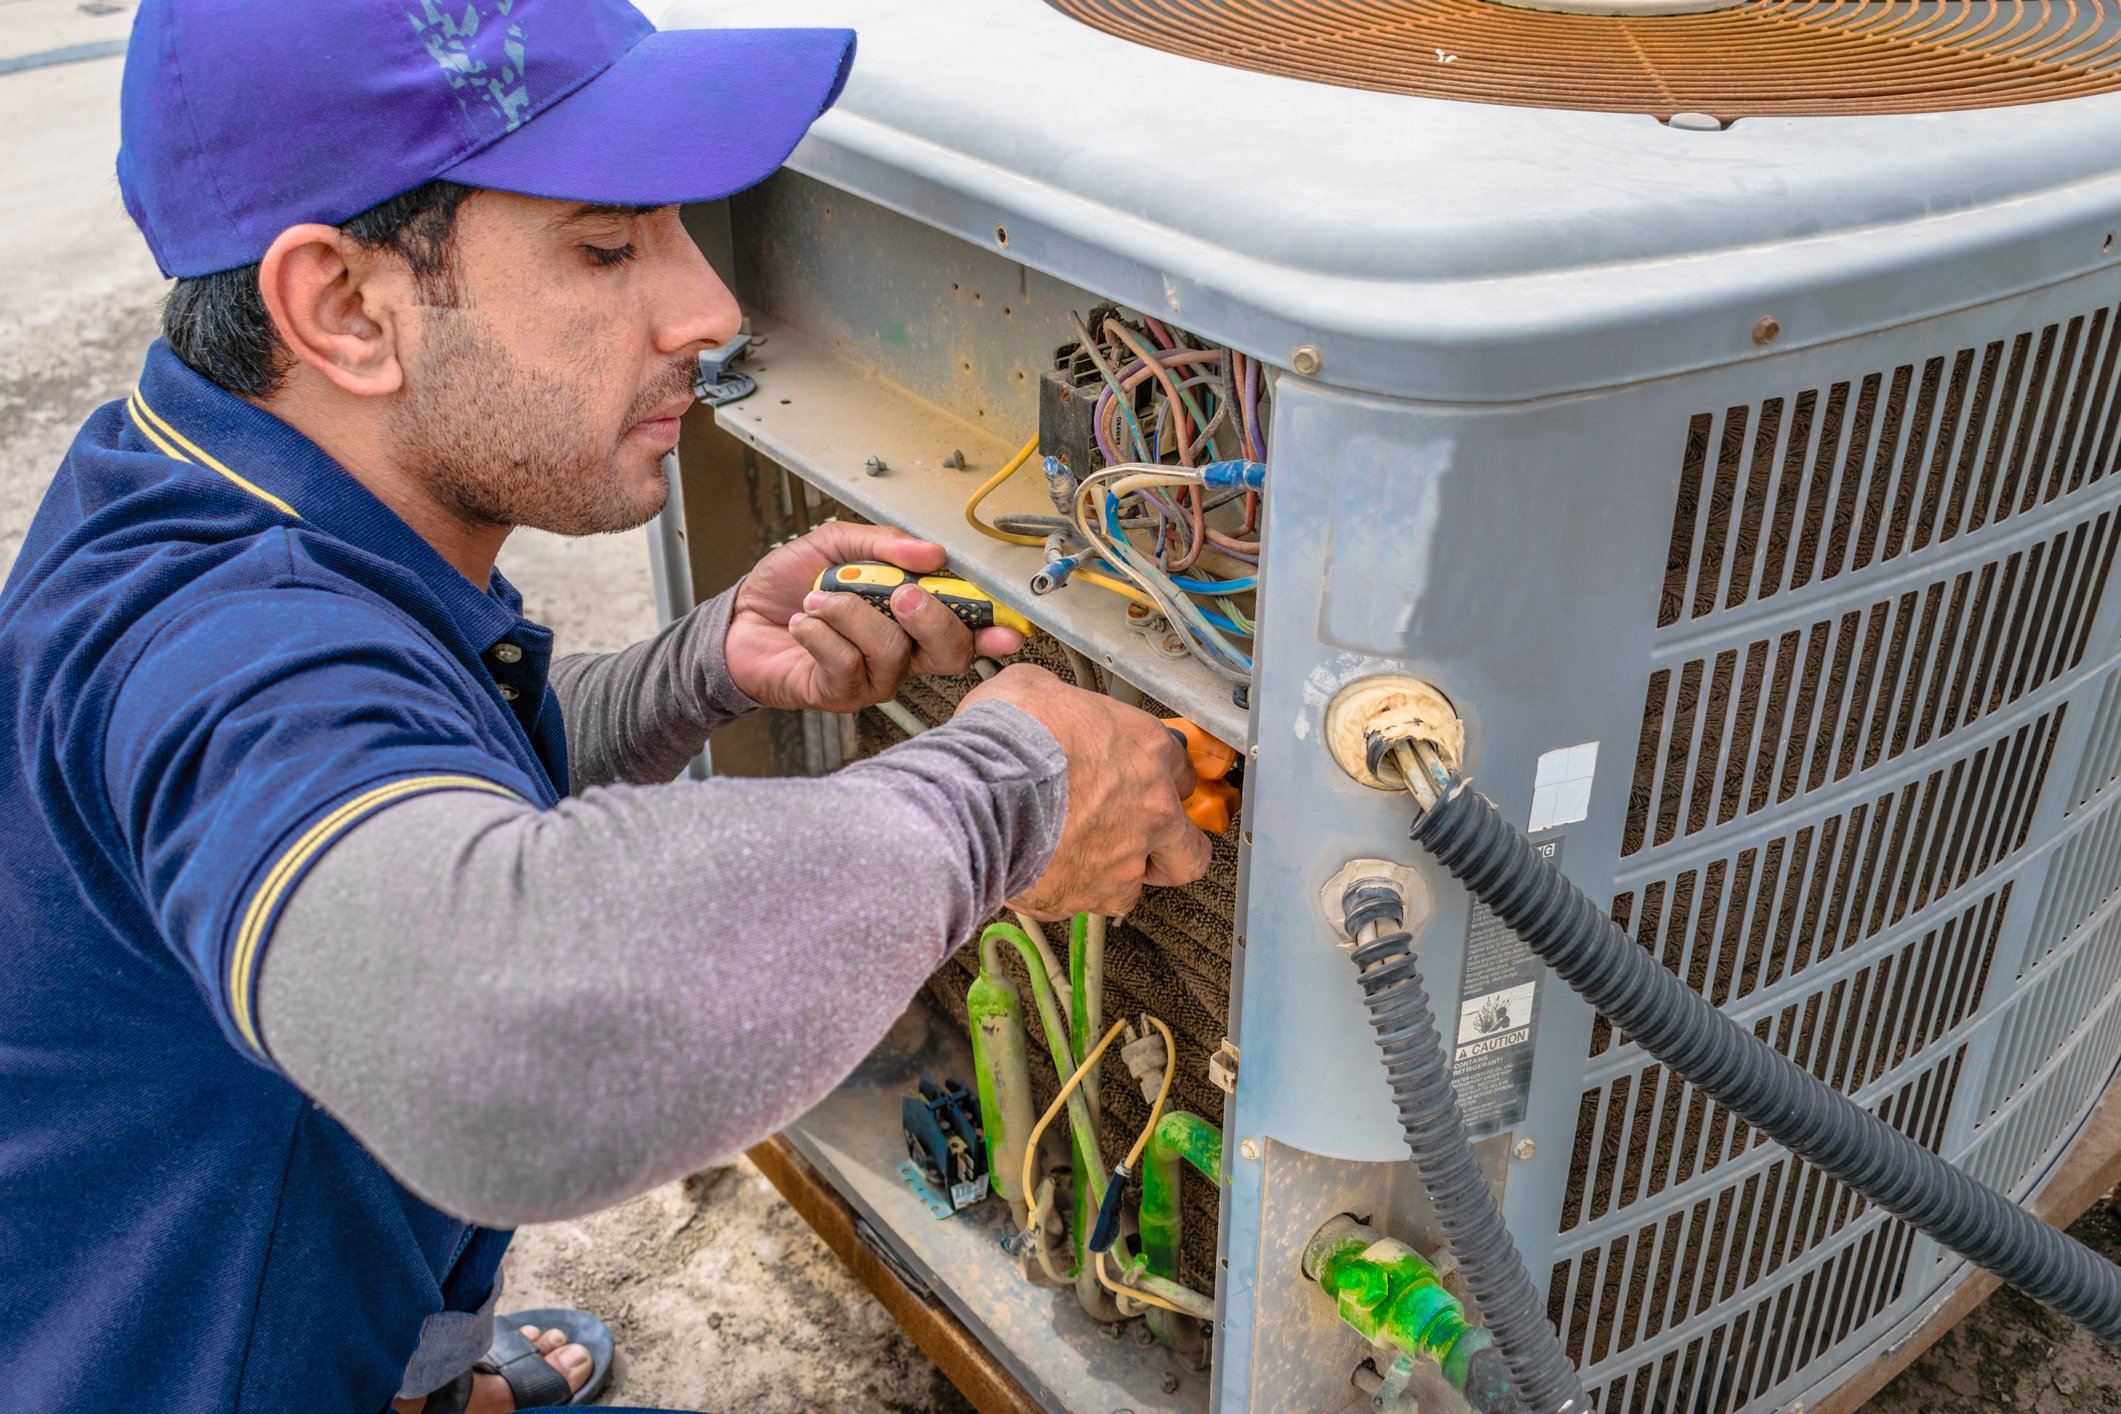
4. Remove Internal Debris (Advanced)
For homeowners comfortable with more technical tasks, the most thorough cleaning method involves accessing the inside of the unit:
- Use a screwdriver to remove the top grill
Gently lift out the fan (be careful not to disturb the connected wires) - Remove debris from the fan and wipe it down with a damp cloth
- Using a garden hose, spray the fins from the inside out for a deep clean
- Reassemble the unit
This deeper cleaning removes debris that accumulates inside the cabinet over time.
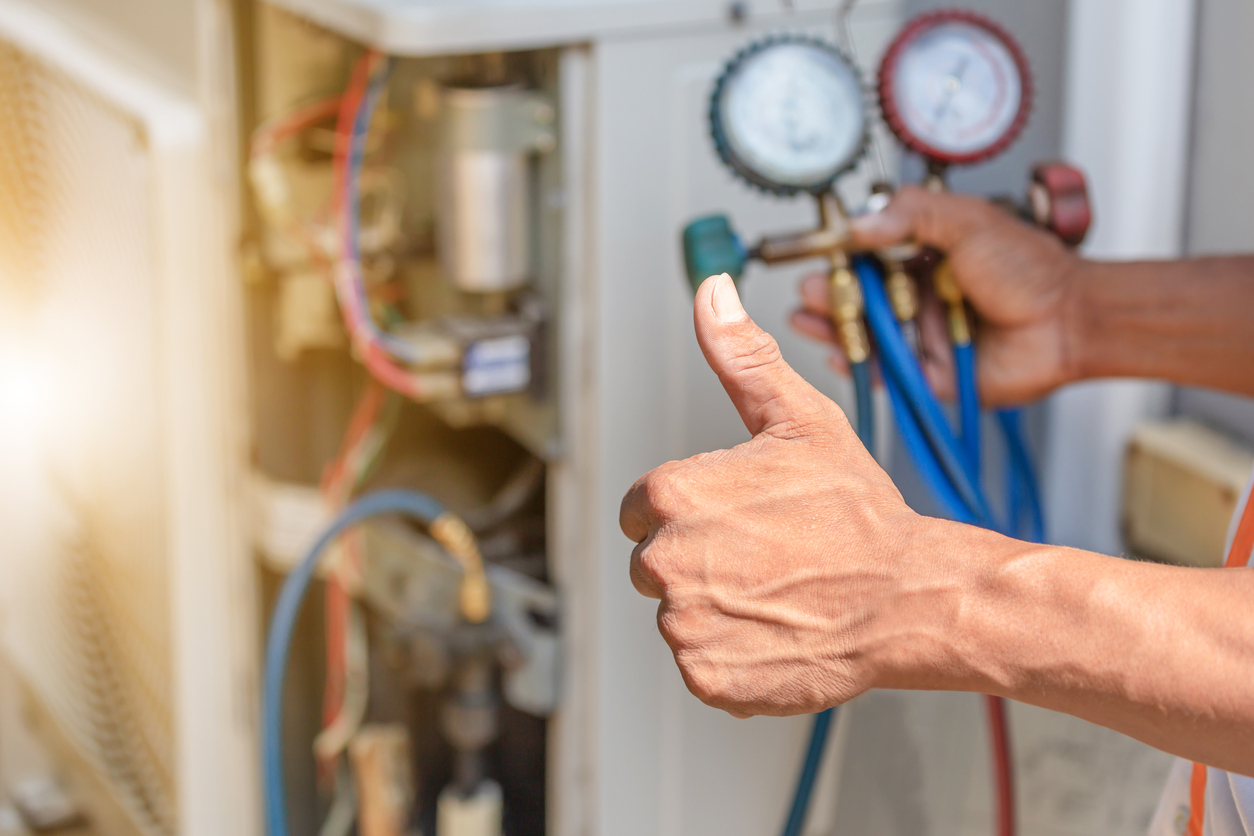
Professional Maintenance Recommendations
While DIY maintenance helps, professional service remains essential. It’s highly recommended to schedule air conditioning maintenance at least twice a year to keep your unit properly functioning. Professional technicians can identify issues before they become major problems and ensure your system operates at peak efficiency.
During a professional maintenance visit, technicians will thoroughly inspect clearance requirements, clean components more comprehensively than DIY methods allow, and address any potential problems with your system.
Ready to Optimize Your Outdoor AC Unit?
Whether you need guidance on proper clearance for a new installation or professional maintenance for your existing system, Dial One Johnson Plumbing, Cooling and Heating is here to help. Our HVAC specialists have been serving the area for years and can address your AC needs quickly, efficiently, and at a fair price.
To schedule an appointment or learn more about our services, reach out to our team at 972-291-0740 or contact us online.